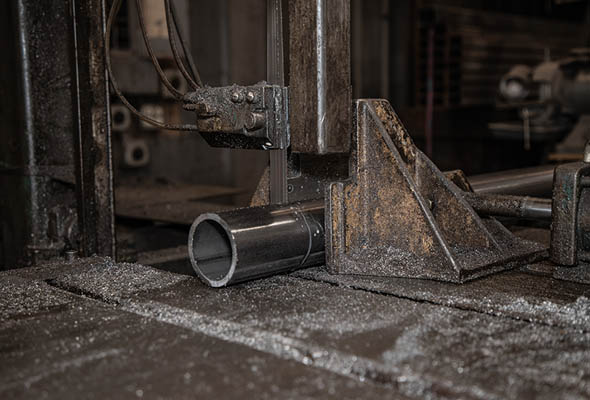
The axle tubing is cut to the exact required length.
Step 2
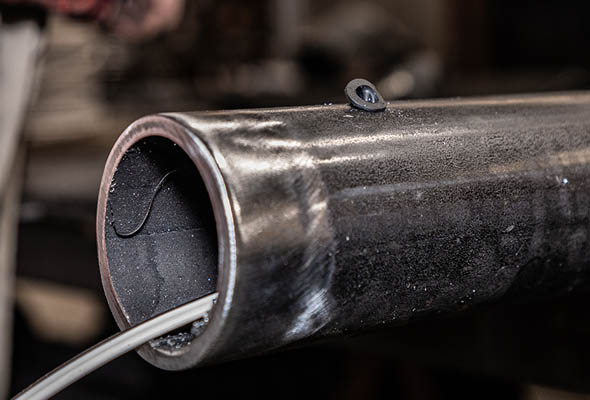
For electric brake axles, a hole is drilled for the wiring to be run through the axle tube. Protective grommets are placed in the holes to ensure long lasting electrical connections.
Step 3
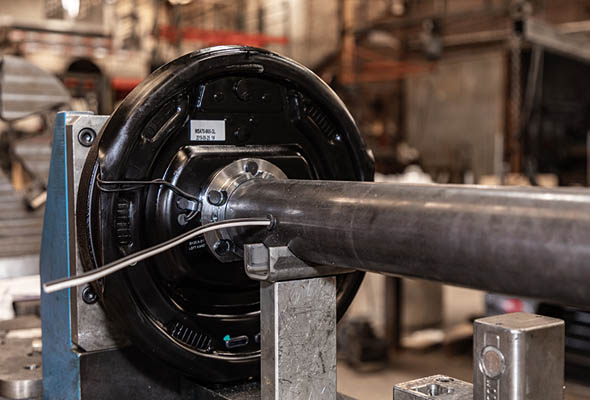
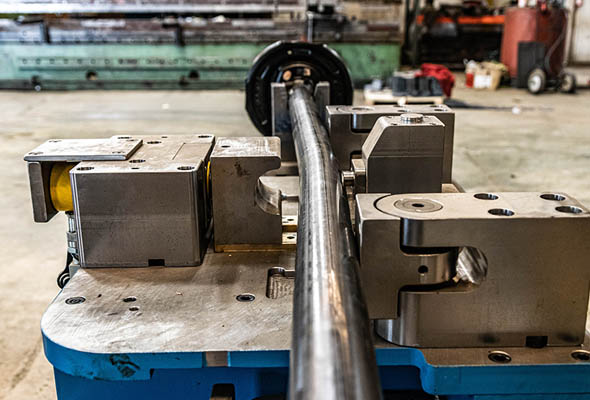
The axle tube is place in the jig table, along with the correct spindle and hub assembly, and pressed firmly together via hydraulic pressure. The spring seats are also placed in position.
Step 4
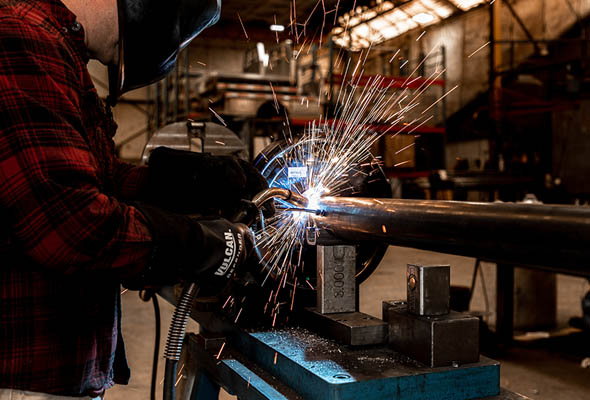
To ensure accuracy, measurements are double checked. The welding of the hub assembly and the spring seats is then completed. The spindle’s weld-fill design that we perform is 40% stronger than the industry-standard butt-weld generally performed by other brands.
Step 5
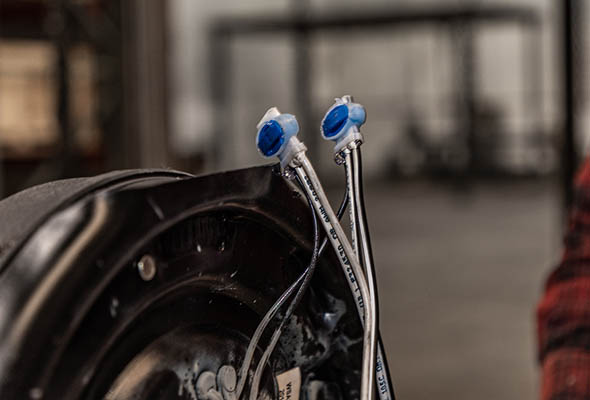
Any required electrical connections are completed with high-quality 3M gel-filled connectors.
Step 6
The axle is placed into the camber machine, and the required camber is pressed on the axle tube. By completing the cambering process after the entire axle is assembled, we are able to achieve the most precise alignment. When performing the cambering process before the spindles and hubs are welded as leading brands do, the alignment is not as precise.
Step 7
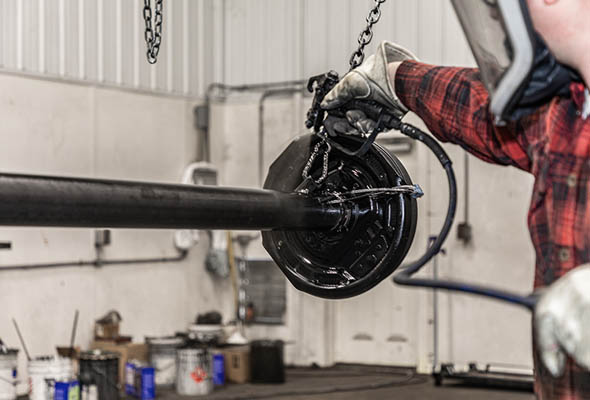
The completed axle is then moved to our paint booth, where a high-gloss Sherwin Williams coating is applied for long, rust-free life.
Step 8
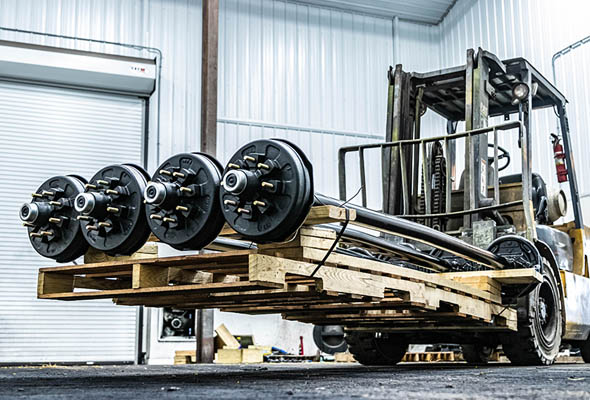
The axle’s serial number and specifications label is printed and applied. The axle is then palletized and ready to ship to your location!
Have a Project You Want to Discuss? We Are Experts!